Quick answer
Signing up creates your company and your own admin login. From there you add your team, set each person’s allowance, choose your working week and bank holiday region, and you are ready to book and approve leave. Most teams are set up in about 30 minutes.
Add your team
Open People · tap your avatar and choose People (or the Manage people link on the Team page) · and add each person with Add someone. Already on Timetastic? Import the whole team instead. See Add your team or Import from Timetastic. You can also group people into departments and tailor your leave types.
Set each person’s allowance
Open a team member and set their Annual allowance in days. Book Time Off does not work this out for you, so set the number you have agreed. See Set each person’s annual allowance.
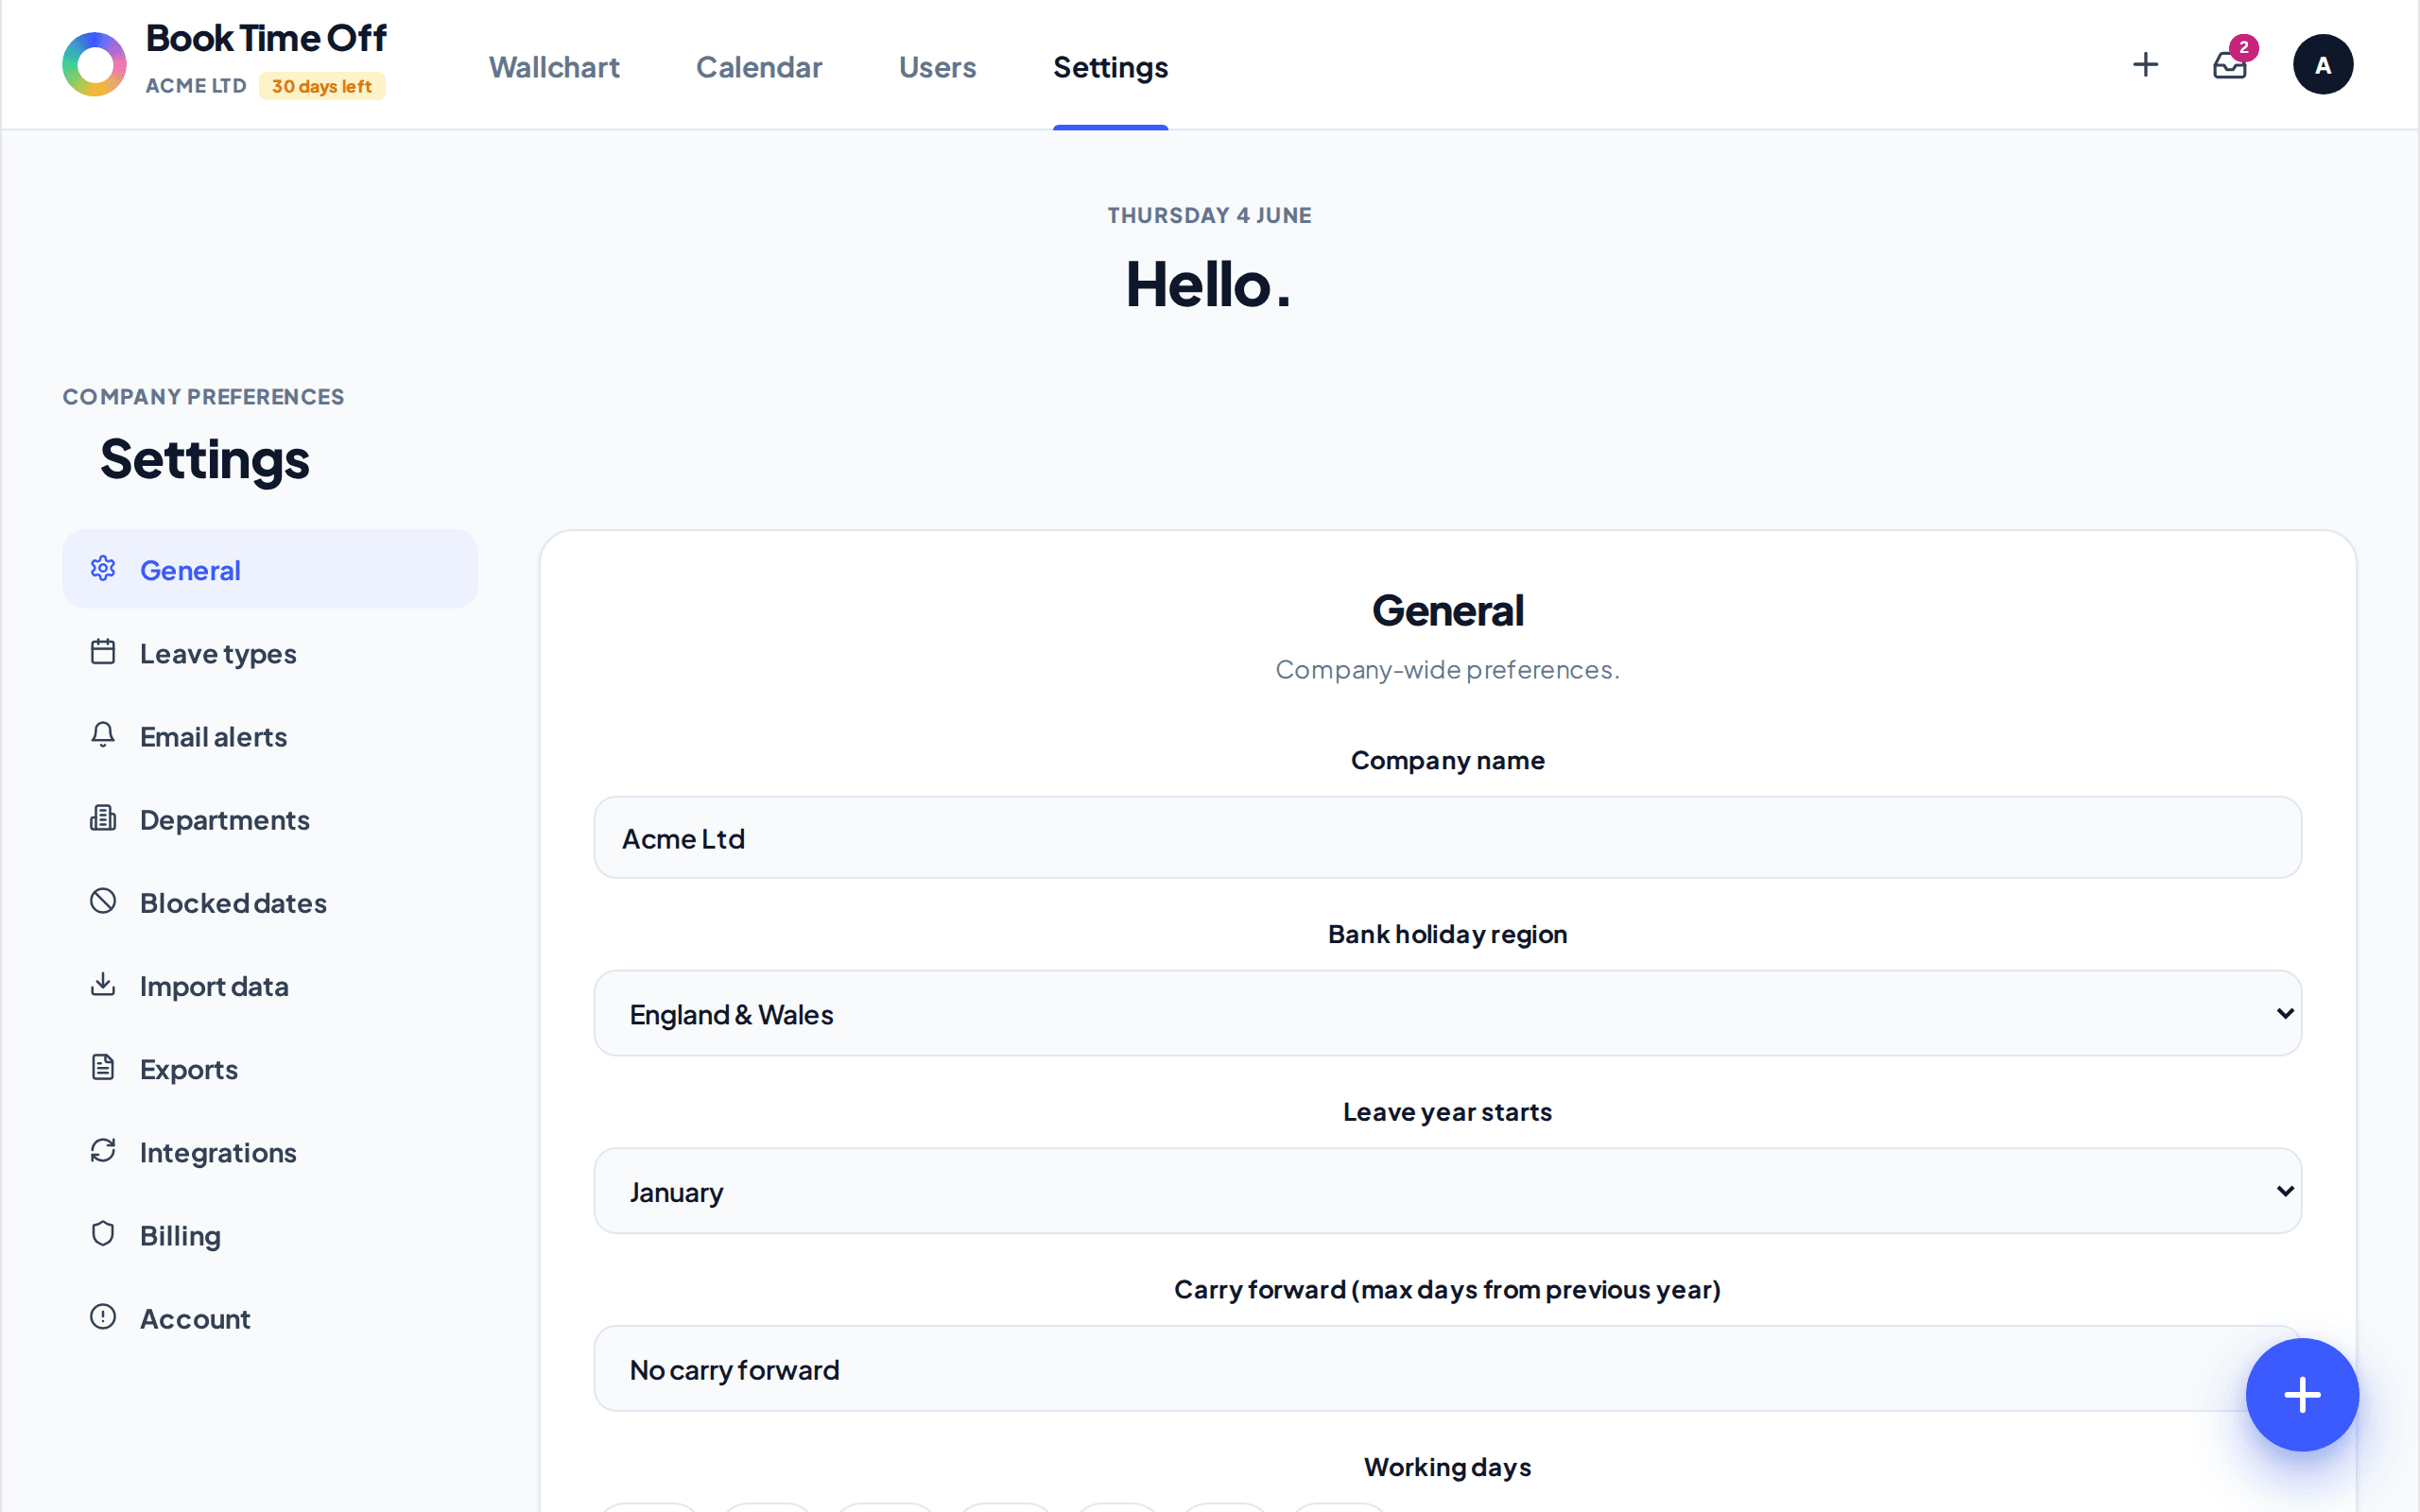
Choose your working week and bank holidays
In set your Working days and your Bank holiday region. Bank holidays are pulled from the GOV.UK feed and are never deducted from anyone’s allowance. See Set your working week and Turn on UK bank holidays.
Book and approve leave
Your home screen is the company Calendar. Use the Book button in the top bar to book leave for anyone, and the Inbox to approve or decline requests. See Approve or decline a request.

Switching from Timetastic?
Skip manual entry. The importer brings your departments, people and this year’s approved leave across in one upload. See Import from Timetastic.